Custom Text
Here we will explain you a how to add the title or description as per the slide in "Jquery Image Player".
Here we will explain you a how to add the title or description as per the slide in "Jquery Image Player".

To use jquery image player, you need to make sure both the jquery image player and jQuery 1.7 or higher scripts are included.
<!-- Important jquery image player stylesheet -->
<link rel="stylesheet" href="jquery-image-player-min.css">

<!--  jQuery 1.7+  -->
<script type="text/javascript" src="jquery-1.9.1.min.js"></script>

<!--  jQuery 1.8+  -->
<script type="text/javascript" src="jquery-ui.min.js"></script>

<!-- Include js plugin -->
<script type="text/javascript" src="jquery-image-player-min.js"></script>
You need a special markup "data-duration". All you need is to wrap your li(jquery image player works with only li element) inside the container element. Any type of ID "uipg-video-player" is mandatory to apply proper styles that come from jquery-image-player-min.css file.
You need to add a new element with a fix class name "jsvp-title" in the respective LI
Note: You can only have "data-duration" markup on the main LI
<div id="demo1">
<ul>
<li data-duration="0">
<div class="contentArea"><img src="demo-images/img1.png" class="img1" /></div>
</li>
<li data-duration="2000">
<div class="contentArea"><img src="demo-images/img1.png" class="img1" /></div>
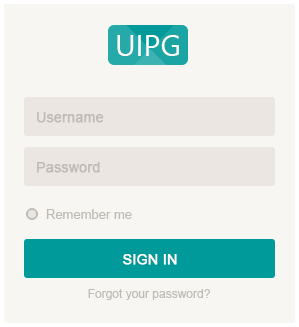
<label class="jsvp-title">Welcome to the login screen</label>
</li>
<li data-duration="2000">
<div class="contentArea"><img src="demo-images/img2.png" class="img1" /></div>
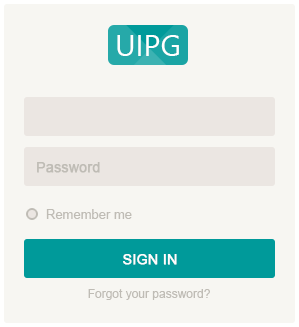
<label class="jsvp-title">Enter the 'username'</label>
</li>
<li data-duration="2000">
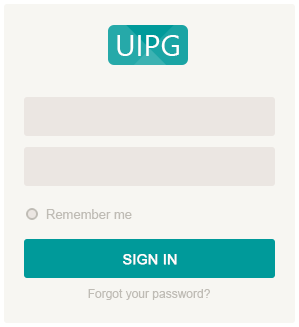
<div class="contentArea"><img src="demo-images/img2.png" class="img1" /><div class="usernameText">yourname</div></div>
<label class="jsvp-title">Enter the 'password'</label>
</li>
<li data-duration="2000">
<div class="contentArea"><img src="demo-images/img3.png" class="img1" /><div class="usernameText">yourname</div><div class="passwordText" style="width:60px;"></div></div>
</li>
<li data-duration="2000">
<div class="contentArea"><img src="demo-images/img4.png" class="img1" /><div class="usernameText">yourname</div><div class="passwordText" style="width:60px;"></div></div>
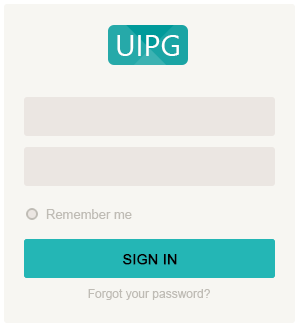
<label class="jsvp-title">Click on 'Login' button</label>
</li>
<li data-duration="2000">
<div class="contentArea"><img src="demo-images/img5.png" class="img1" /></div>
<label class="jsvp-title">You have logged in successfully</label>
</li>
</ul>
</div>
Now call the styling codes for styling.
<style>
	#demo1 .galWrapper{background:#2f4159;}
	#demo1 .contentArea{position: absolute; top: 10px; left:50px;}
	#demo1 .img1{position: absolute; top:0; left:0;}
	#demo1 .usernameText, #demo1 .passwordText{position: absolute; top:107px; left:35px; z-index:1; font-size:15px; color:#009a9a; font-weight:bold; font-family:arial; height:20px; width:auto; display:inline-block;}
	#demo1 .usernameText img, #demo1 .passwordText img{position:relative; float:none;}
	#demo1 .passwordText{top:162px; width:10px; background:url(../demo-images/password.png) repeat-x 0 0; }
	#demo1 .pipe{position:relative;}
	#demo1 .pipe:before{content:''; position:absolute; top:0; right:-4px; width:5px; height:20px; display:block; z-index:1; background:url(../demo-images/pipe.gif) repeat-x 0 0; }
</style>
Now call the styling codes for styling.
$(document).ready(function(){
	$('#demo1').jsVideoPlayer({
		showVolumeControl:false,
		playerWidth:400,
		playerHeight:340
	});
});